Project Log #4: Designing and Modelling
In my recent adventures as an intern with the Canada Aviation and Space Museum, I spent time programming the Raspberry Pi in order to set a very simple, internal website that can be accessed to see the data. The next task was to start thinking about the casing for the weather station we’re building for the museum. My advisor and I decided to design and 3D print our own boxes.
3D design is a skill that is not exactly my forte. While there are programs and services out there that make it rather simple, such as Tinkercad, I decided to use Autodesk Fusion 360. I've used it on a few occasions, but only to make slight adjustments to pre-designed models. This time, I decided to use the program to build a design from the ground up.
Jesse and I decided we would need two boxes for this project. The first would be a larger box, to hold the Raspberry Pi, Arduino, and other electronics essential to operations of the weather station. The second box would be smaller and attached underneath the larger box, with vents cut in the side. This would ensure air flows to the sensors, but weather-related threats to the electronics, such as rain or snow, would be blocked. See image below.
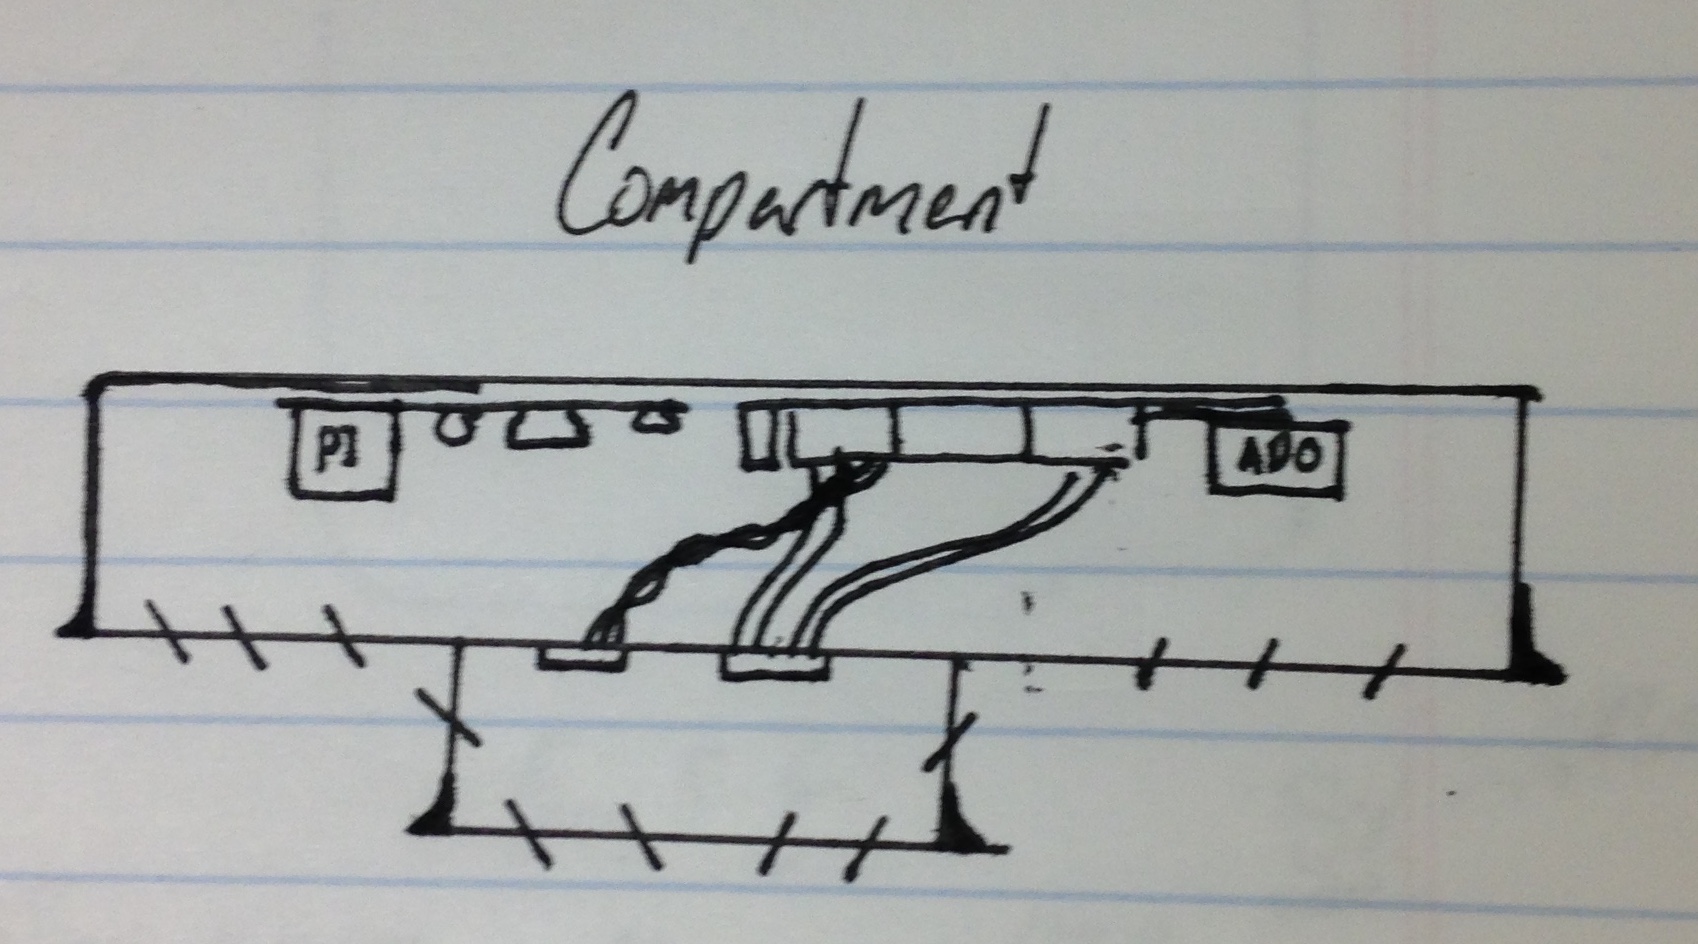
An early concept for the electronics and sensor casing.
The first step was to measure out the dimensions that I needed. I measured the side lengths of Raspberry Pi and the Arduino. In this case, I also had to measure the lengths of the cords that attach to each, since they require a certain amount of room as well. After that, I added a centimeter or two around each one, which allows some breathing room.
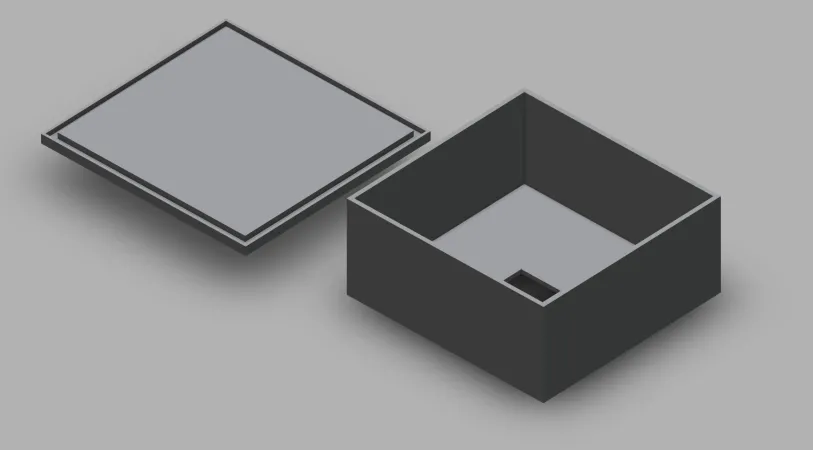
The software used to 3D design and print have become increasingly simple to use. Coupled with the fact that we only needed a simple box meant that modeling wasn't that hard. Since our box needs to have walls, which need to have a defined thickness, I created one rectangle which is the size of the exterior of the box, and one that is the size of the interior. The outside box is only slightly larger than the interior, having walls roughly 0.5 cm thick. Then I overlaid them, meaning I put the smaller one inside the larger one, and used the cut function in order to remove the interior, giving a hollow cube.
You can’t have a box without a lid, so that was the next step. A lid is not too hard to make either. The main thing to do is make a rectangle that is even larger than the box, but not nearly as tall. After that, give it a lip, something so that it does not wiggle about. Ta-da! You now have a complete box!
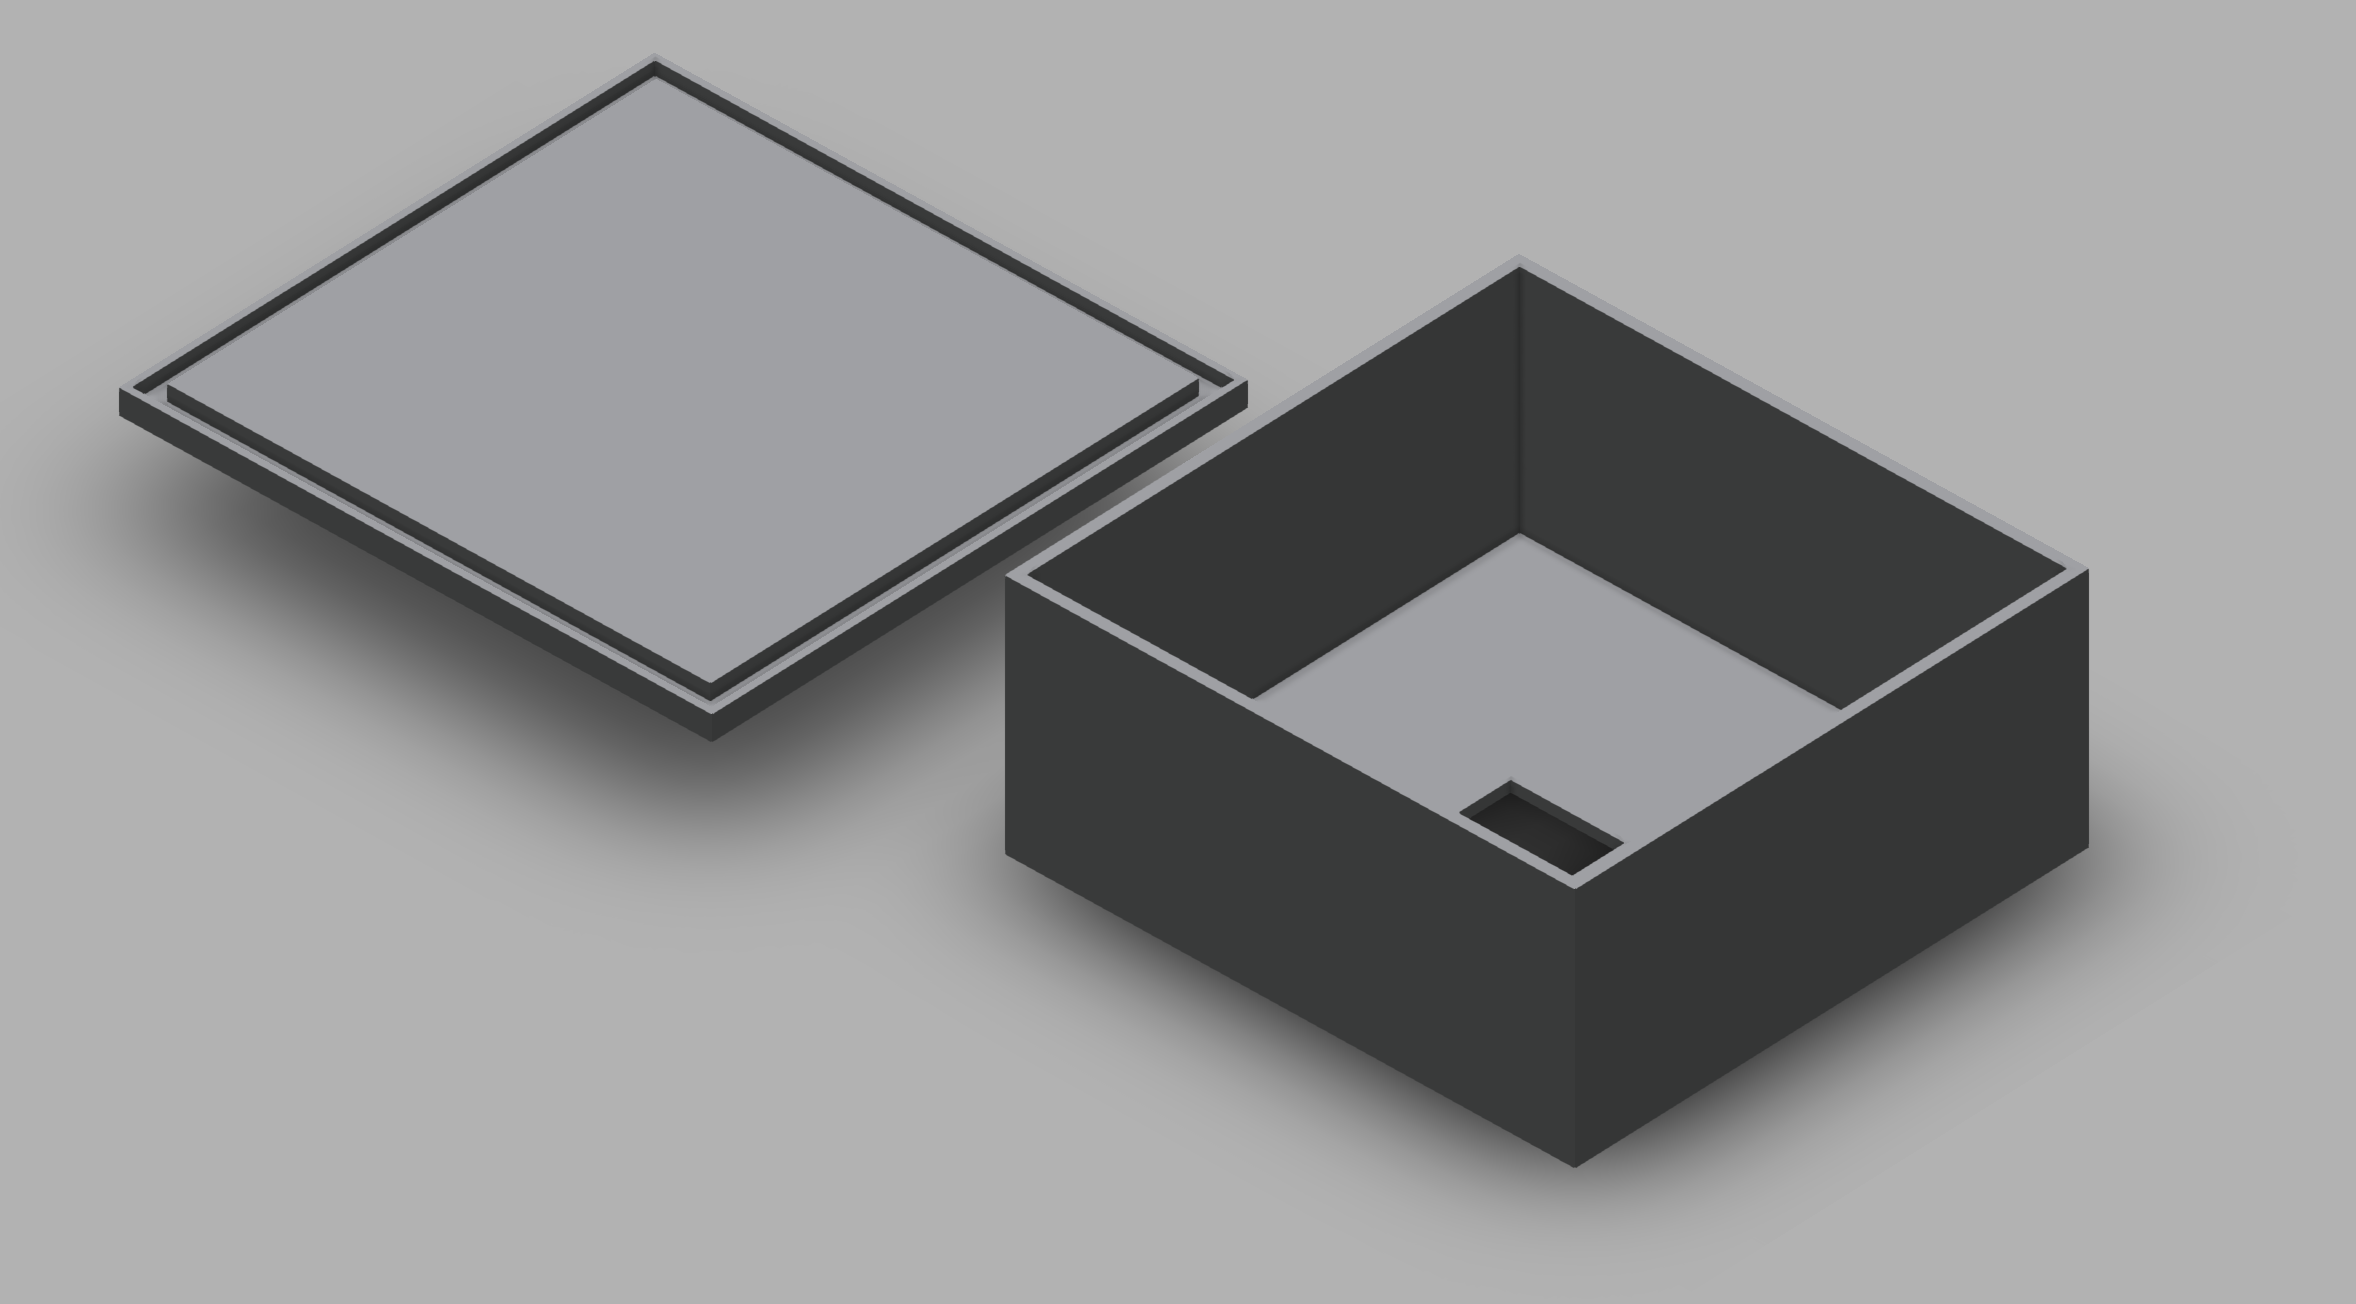
The design of the top portion of the case.
The other thing I did was create the small lower compartment that has vents. While I could have spent more time designing and creating the shutters that block rain, I decided to instead use a premade one. You can find the original here. I did not want to use the entire box, so I took the door and made a box with it on every side. After that, I added a floor and that was that. A box with openings everywhere and good air flow!
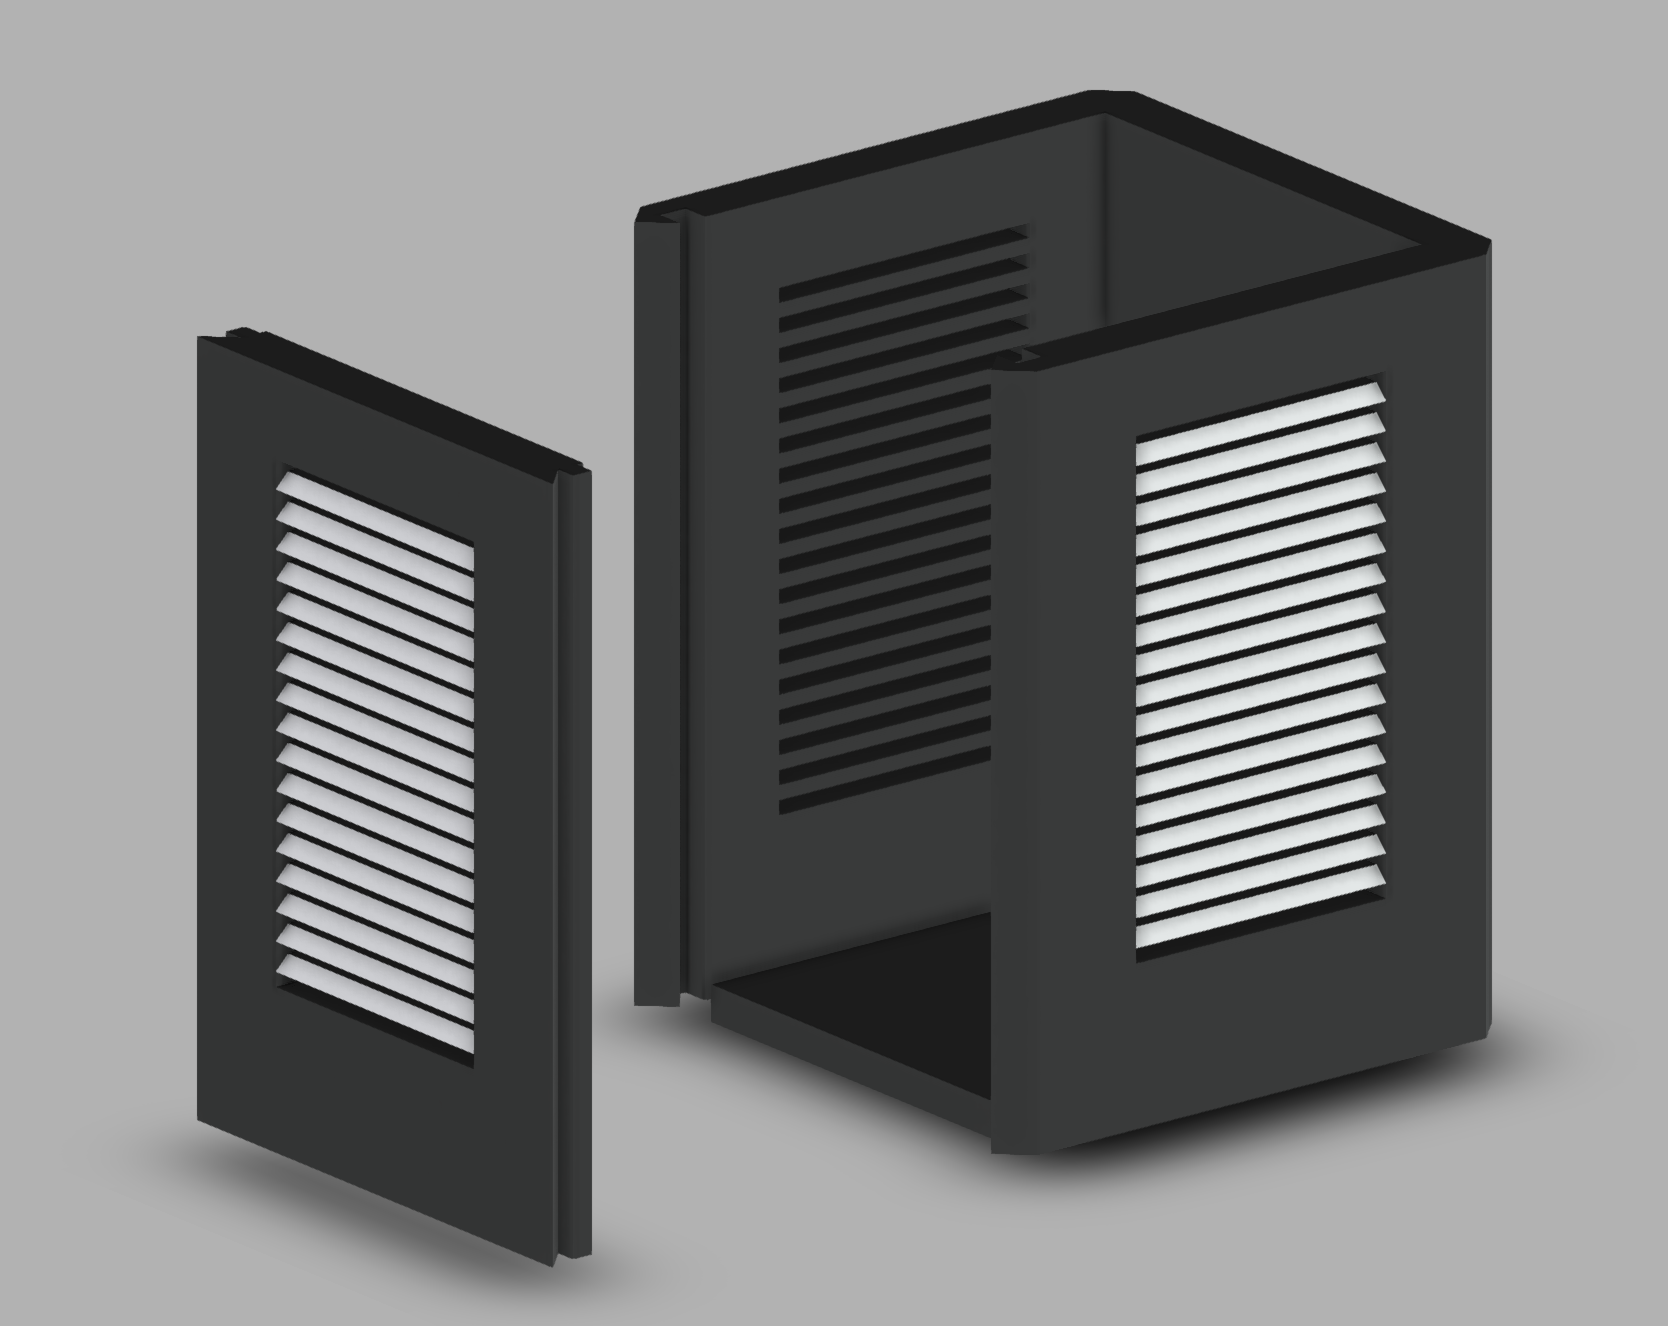
Design for the lower portion of the case.
I also decided to change the GitHub format. Instead of having all the code and files on my own personal GitHub page, I created a new team page, which allows for better organization and collaboration. All the code, along with the 3D designs, can be found at: https://github.com/CASM-WeatherStation.
Hopefully next week, we can do some early testing and printing of the boxes. Altogether things are moving well, with good progress on nearly every front. Stick around as we move from the experimental phase to the practical phase!


