By: Mohamed Ebsim
Ingenium
In my first post, I wrote about the first step in my challenge to build a weather station for the Canada Aviation and Space Museum - which was to get the Raspberry Pi and the Arduino communicating. The next step in the project was to connect the weather sensors, and have them output real measurements.
To begin with, I only had two sensors to work with – a humidity sensor and an altimeter. A humidity sensor is self-explanatory, but an altimeter is a sensor that provides barometric and thermometric data, which means you can measure the atmospheric pressure, temperature, as well as it can estimate your altitude. Both of these sensors are of the breakout variety, which means they lack pins that connect from them.

Top: Humidity Sensor, Bottom: Altimeter (pressure, temperature, altitude)
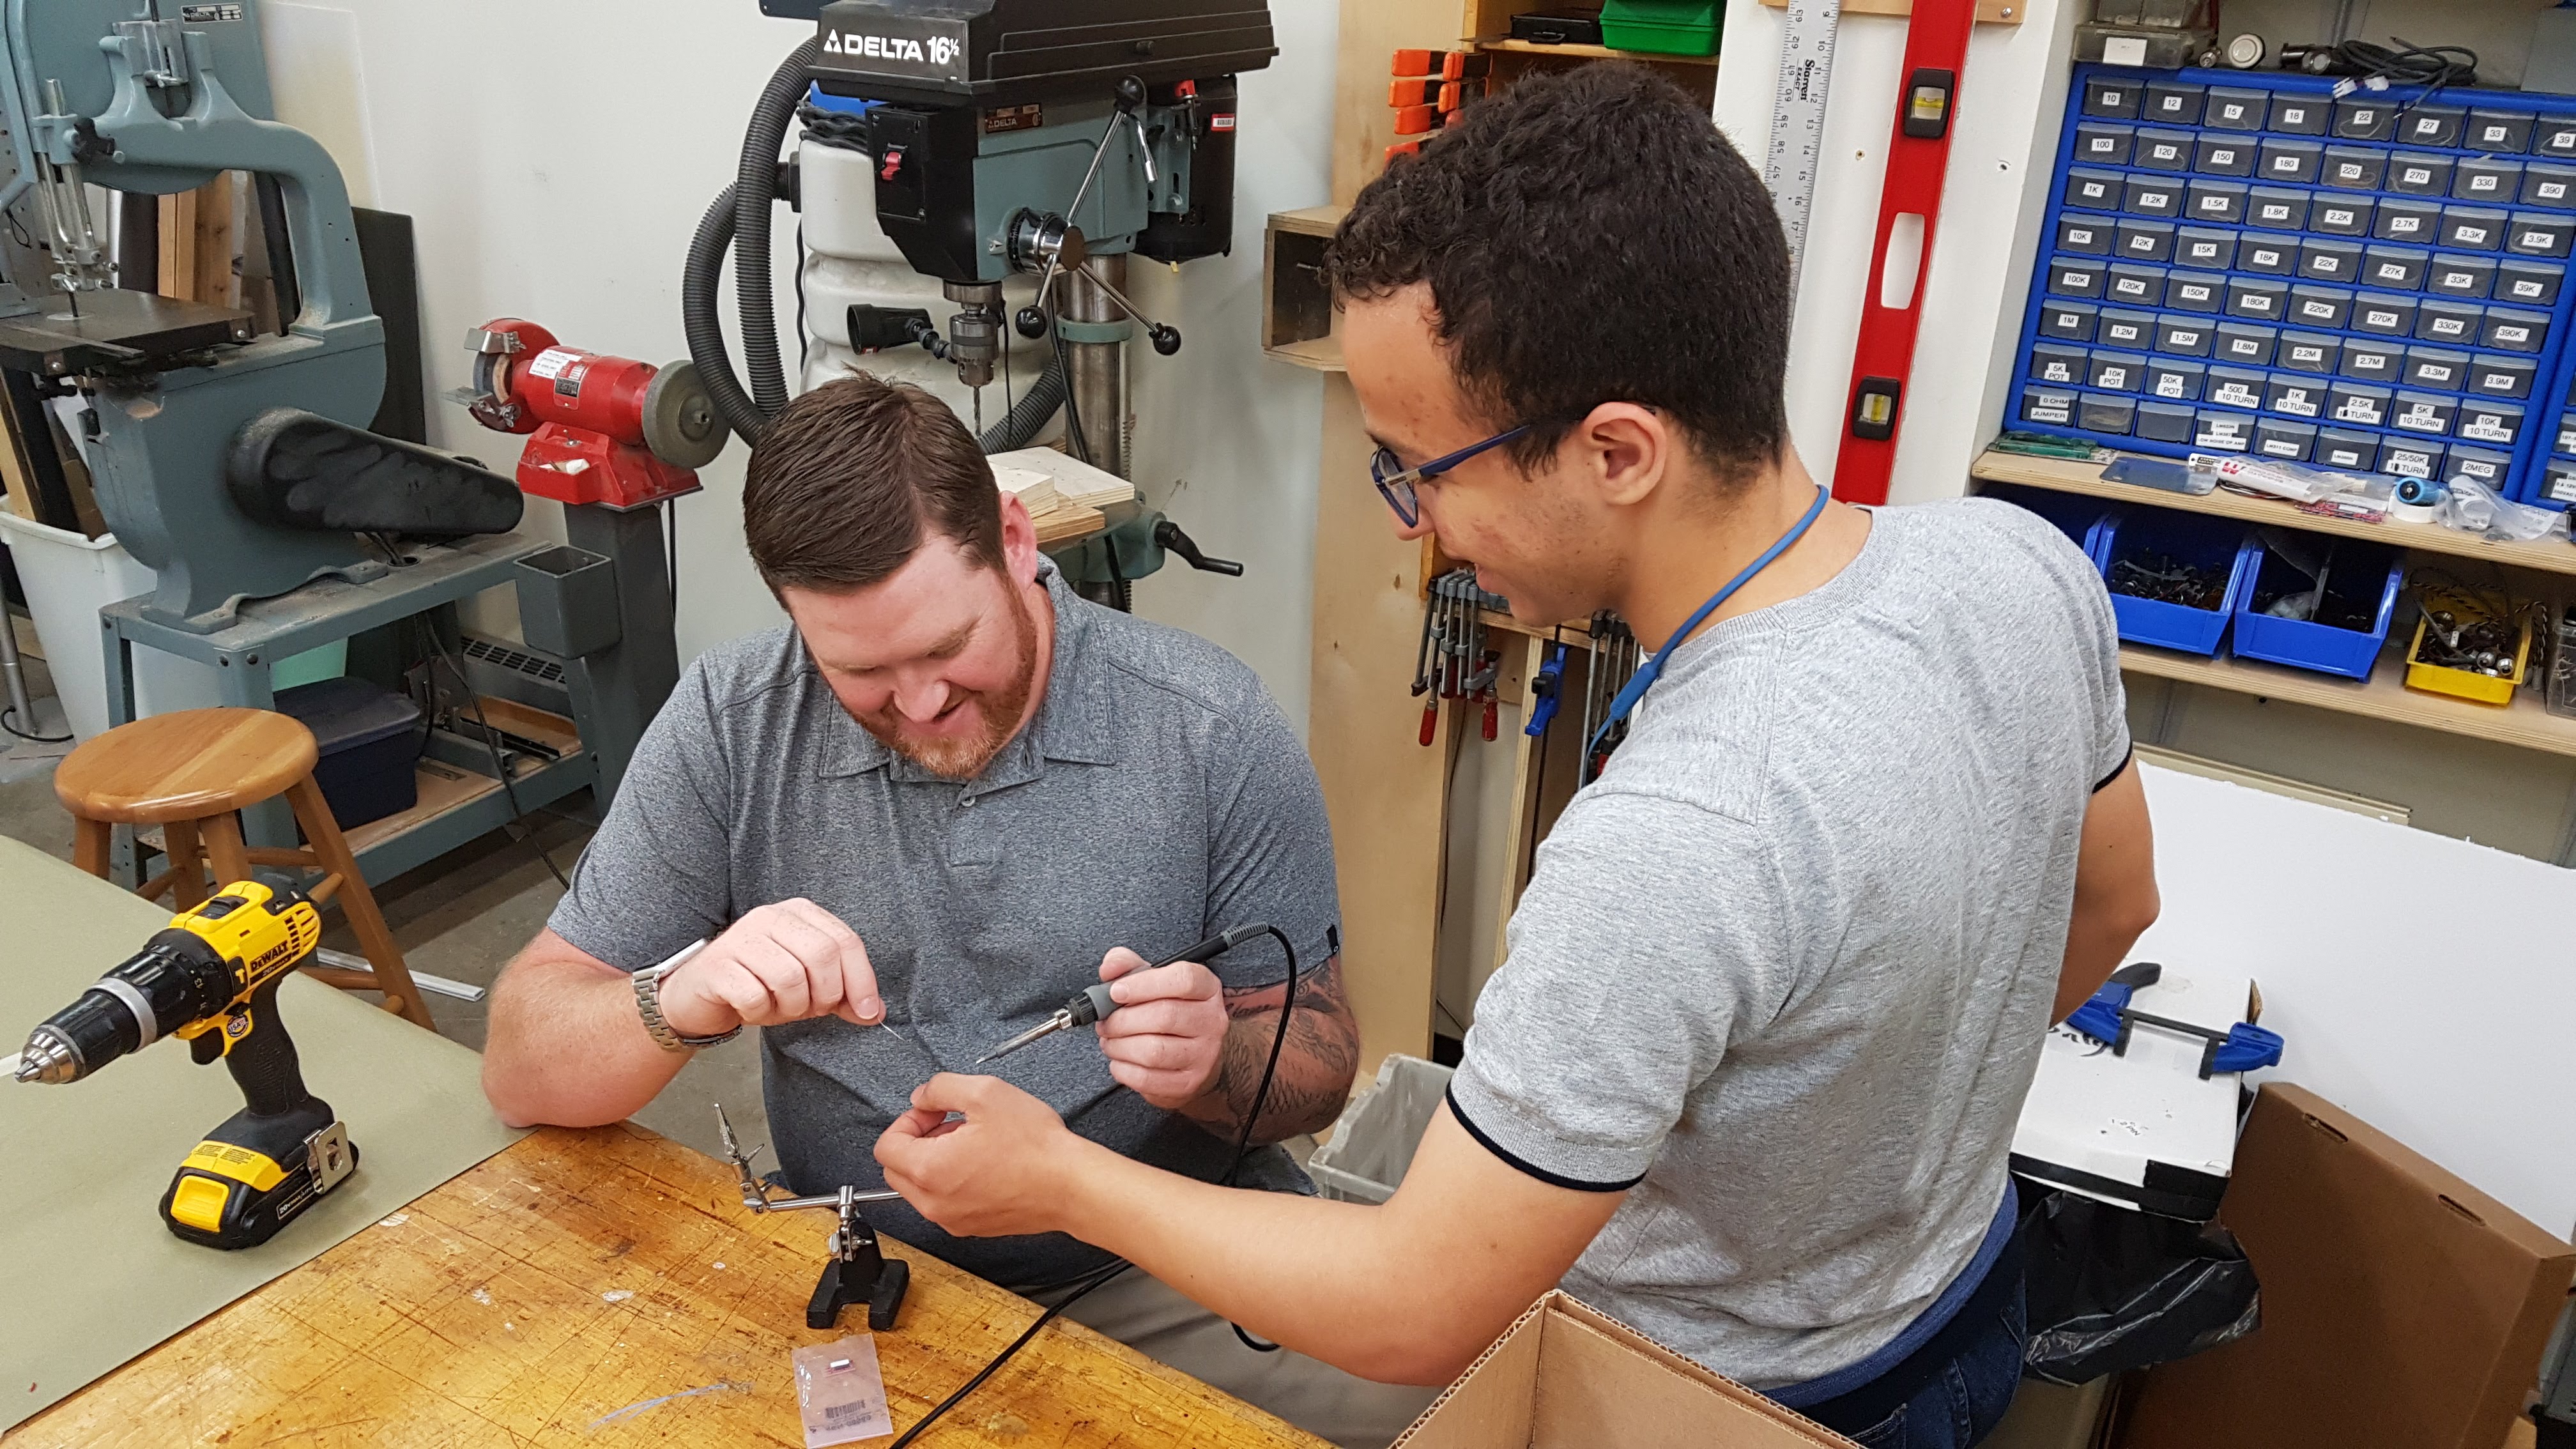
Instead, they require soldering in order to attach connections to them. While I do have experience soldering, I got help from Jason Robinson, the museum's exhibitions maintenance guru, in order to ensure a good job.
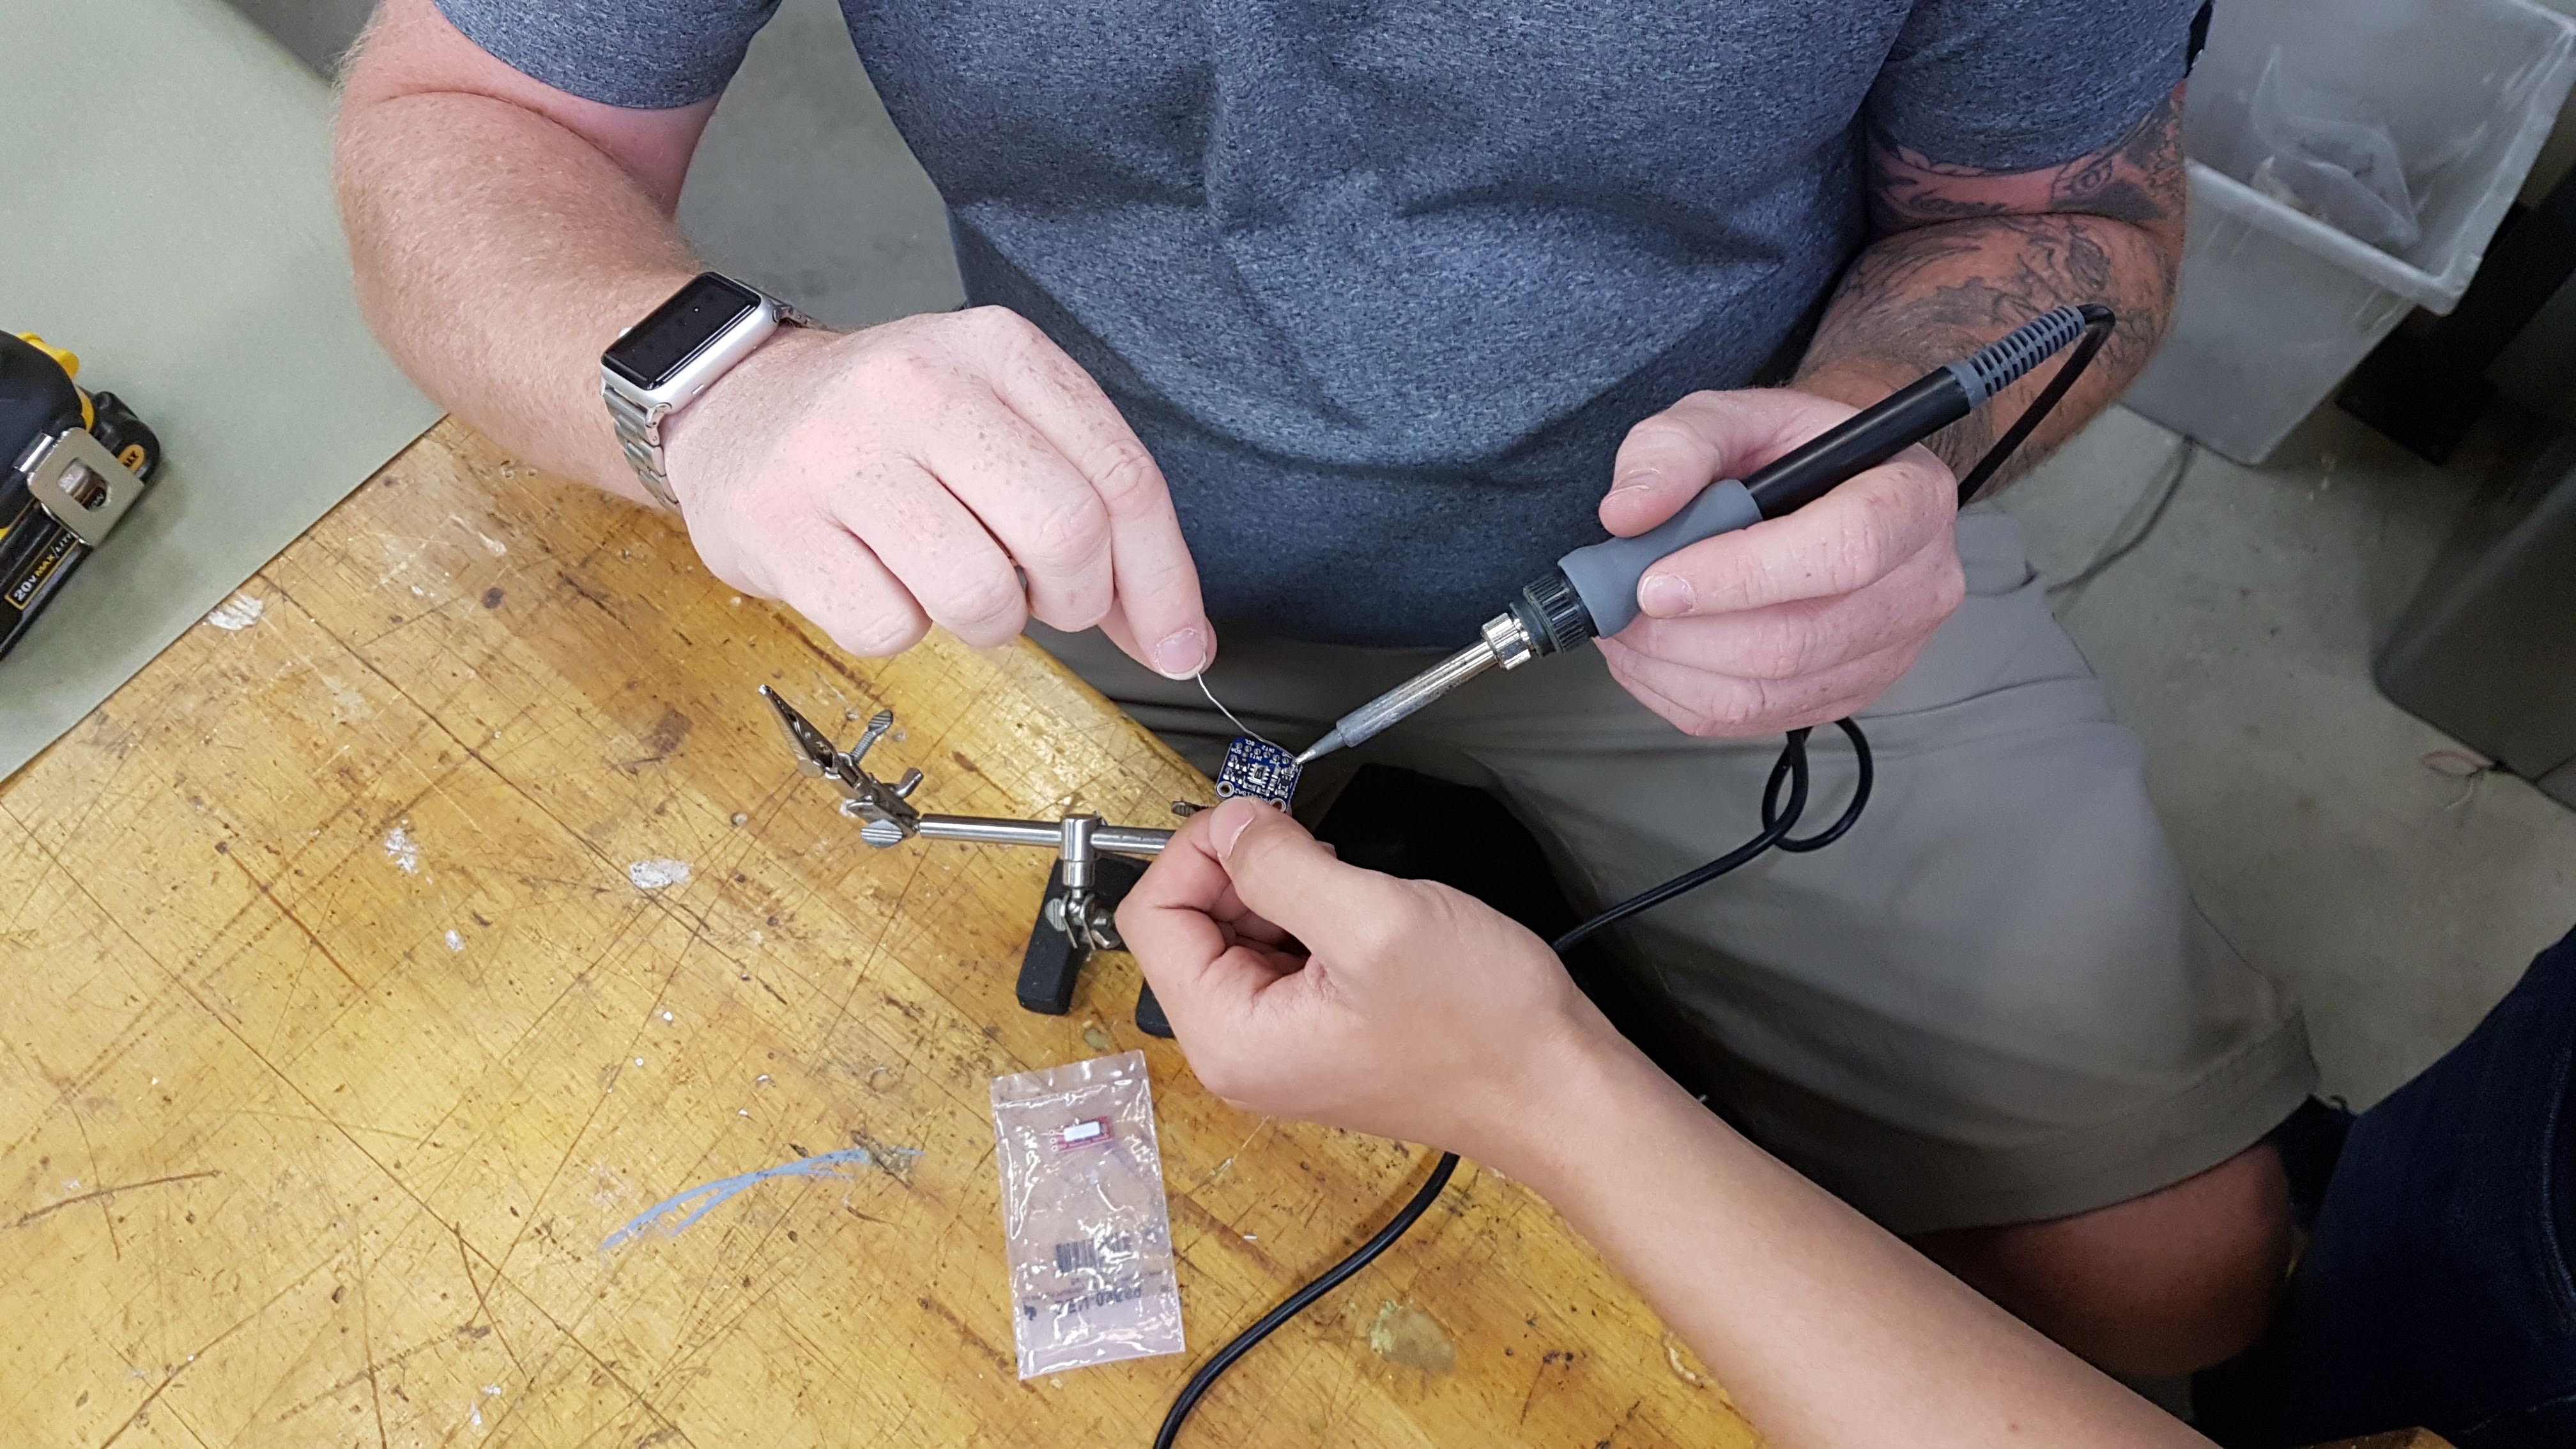
Jason Robinson helping me solder wires to the two sensors
After thanking Jason for the excellent job he did, I began the process of wiring it up. Wiring the components is not as daunting as it seems. Since this is in the early stages, I could simply use a breadboard. A breadboard is a premade board that allows to prototype circuits without making permanent decisions such as soldering wires together. It is the white board in the photo below.
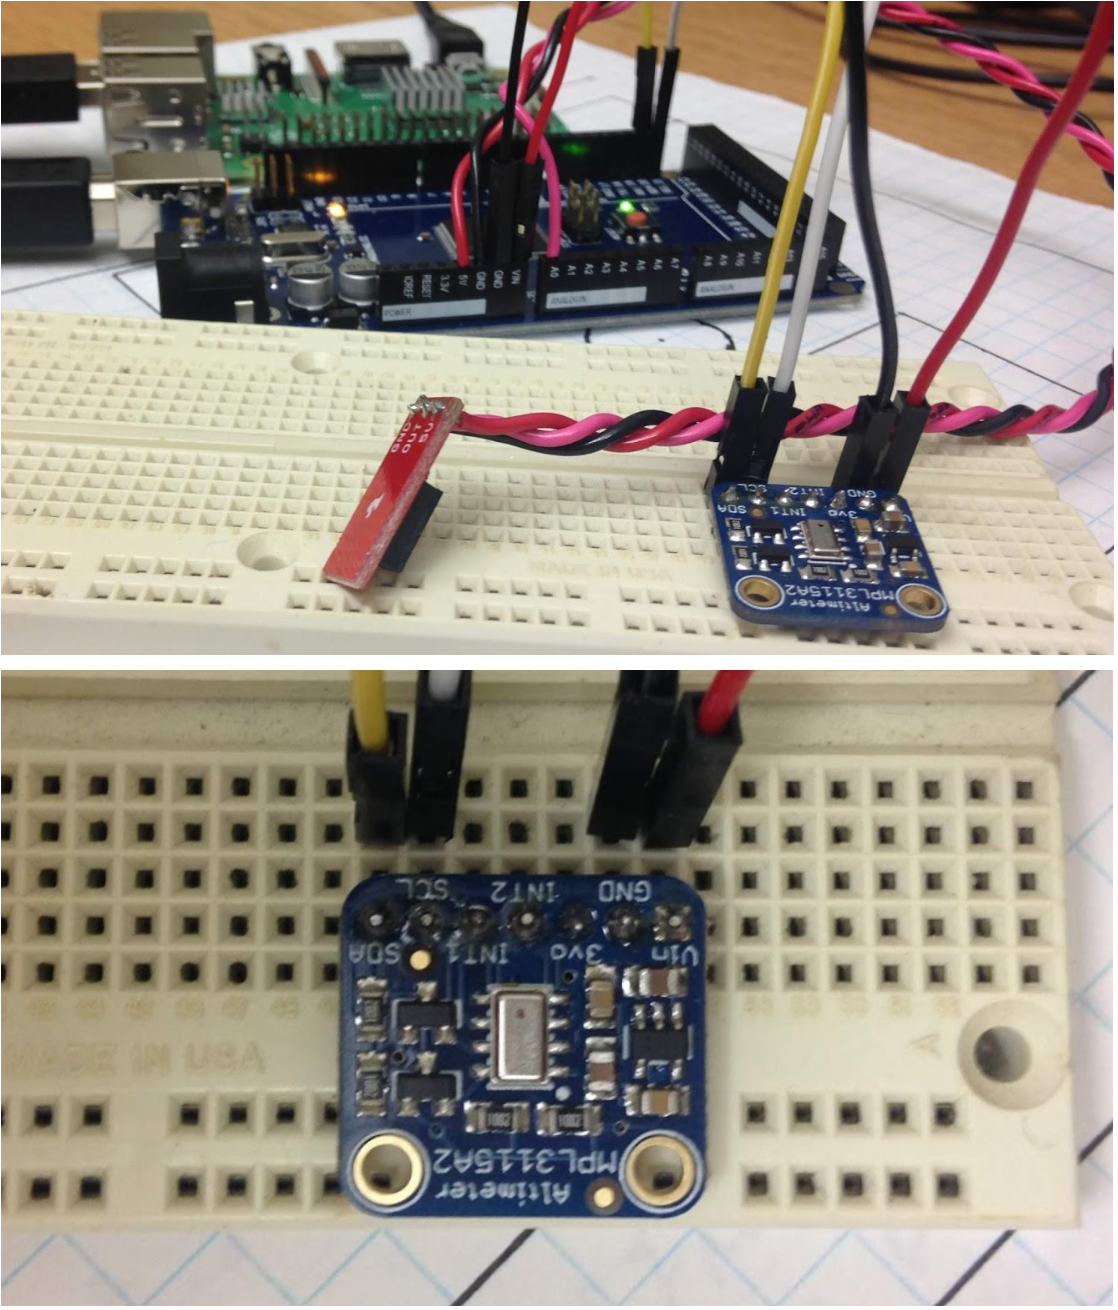
First image: Raspberry Pi, Arduino, Breadboard and sensors side by side, second image: close-up of altimeter sensor with wires connecting to the Arduino. The top of the breadboard is plastic, but within lies metal. This metal sits in columns, allowing for charges to carry through a column of sockets. In this image, the altimeter has 4 pins each in a seperate columns that allow the wires sharing those columns to transmit unique messages to and from the Arduino (see schematic below).
Each sensor has labels associated with each pin’s functionality. In general, you will have a pin for power, one for ground, and another for data transmission. This is how it was for the humidity sensor; there was a 5V pin, a ground pin, and another pin that I plugged into the analog pin number 0. For those who are inexperienced with Arduinos, there are digital and analog inputs. To visualize the difference, think of a light. A digital input is like having a switch which would turn the light on or off. Only two possible options. Now an analog input is like having a dimmer switch on your light – if you slide it, you can access a variety of brightness levels. The majority of sensors tend to use analog over digital, as they would like to return a point of data from a possible range.
For the altimeter, I needed a connection to the VIN pin (which acts as our power pin) I also needed a ground pin, but instead of a single pin for data transmission it uses two: an SDA and SCL pin. These are used for I2C communication, which allows for multiple items to communicate with each other. SCL is the clock pin and ensures that data is transmitted at the appropriate rate and time. SDA is the side that accepts data. Together, they enable data to be collected without flaws.
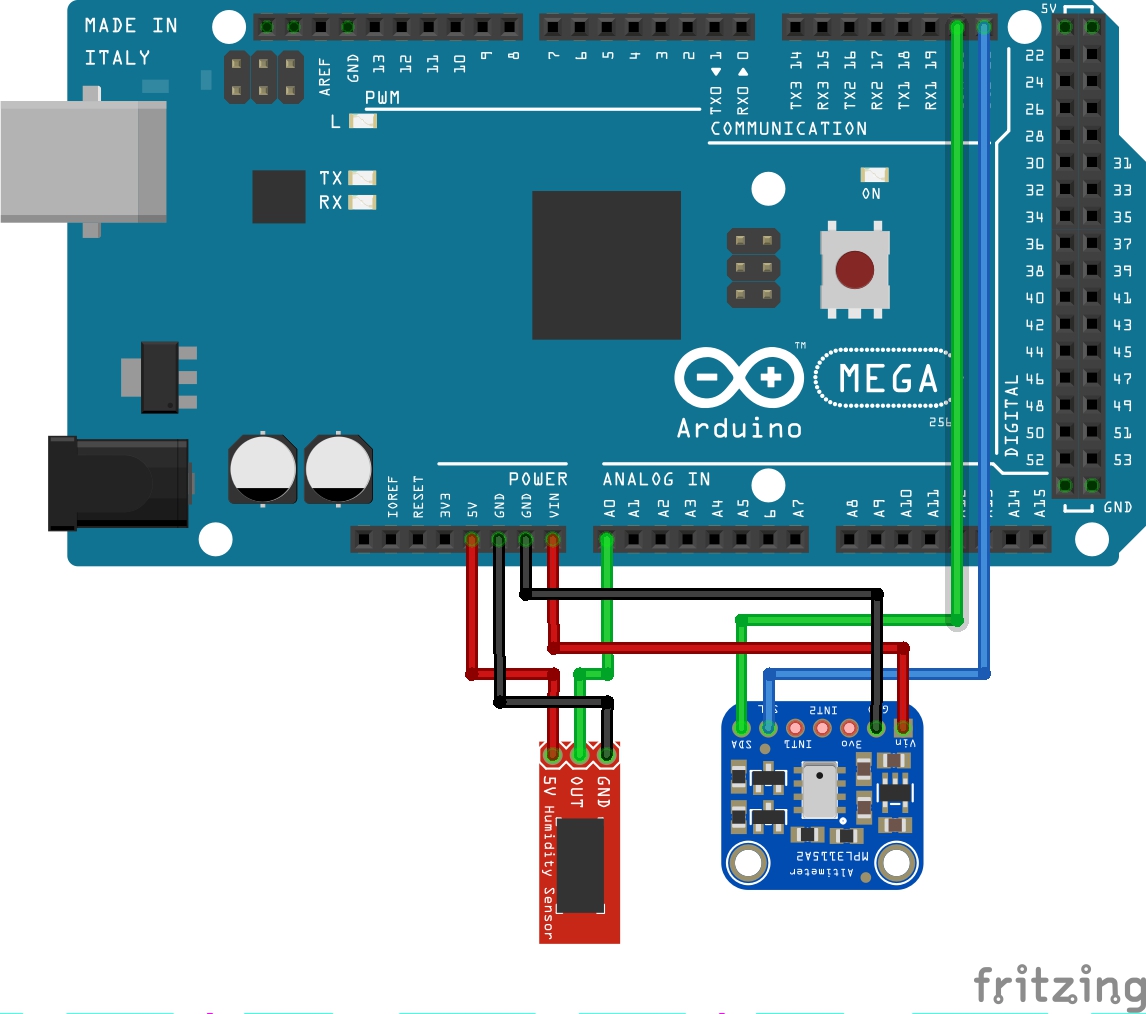
Schematic outlining how the sensors connect to the Arduino.
Programming the Arduino to get data from the sensors was not too hard, as both sensors had their own libraries with examples for each one. I found them at their respective GitHub pages: (https://github.com/adafruit/Adafruit_MPL3115A2_Library and https://github.com/sparkfun/SparkFun_HIH4030_Arduino_Library ). Adjusting the code in order to combine the two together—in one all-encompassing program—was a matter of looking at the examples and dropping it over in the other.
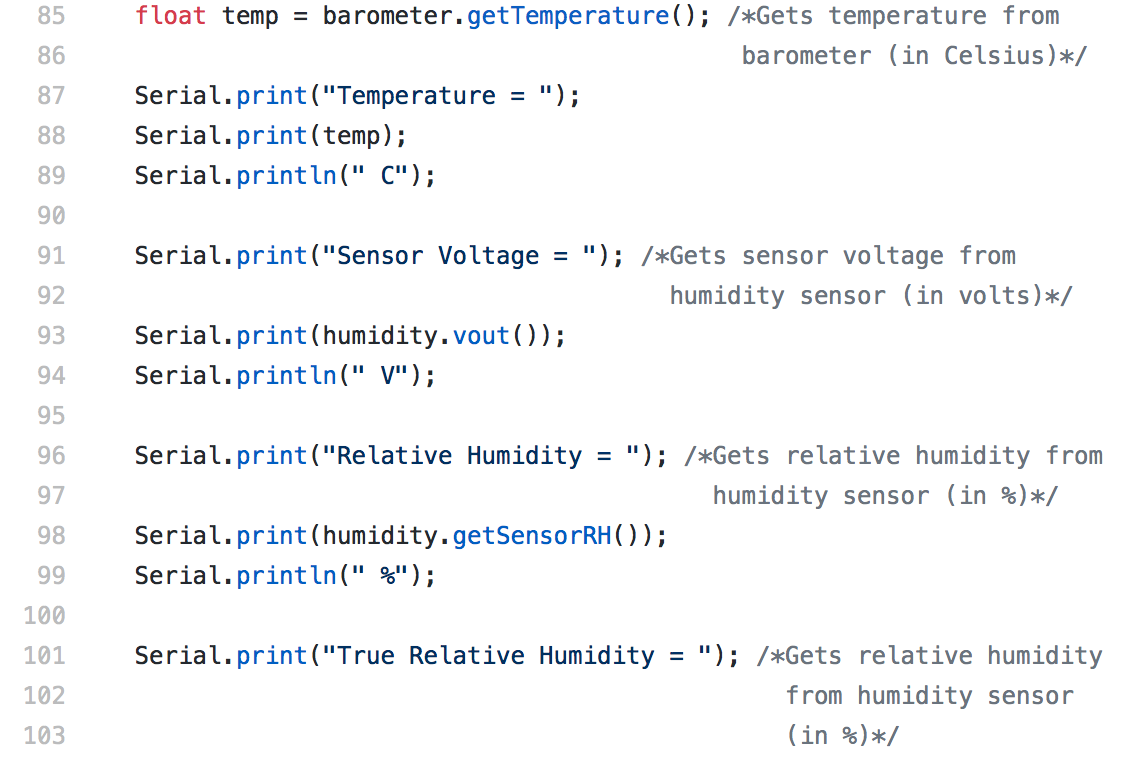
An section of code that will return data from the sensors to the Raspberry Pi.

Screenshot of the data coming from the Arduino.
After some final adjustments and cleaning up, I quick run came with success. I now can read the values the sensors are measuring.
The design process was interwoven between all the programming. Conceptualizing and brainstorming the compartment it would be housed in—and other details—was done with Jesse Rogerson, my supervisor and the museum’s science advisor. Since this is being placed outdoors, thinking ahead to how it will all come together is something that will continue to be discussed.
Looking ahead, I’m excited to try out some possible 3D designing for the compartment. But that’s next week’s stuff...stay tuned to find out about my upcoming adventures!
All the code that has been made can be found at my GitHub page: https://github.com/mebsim/WeatherStation

Mohamed Ebsim is an intern at the Canada Aviation and Space Museum, working under Science Advisor Jesse Rogerson. He is also a high school student at Ashbury College.