From brainwave to reality: A sneak peek at the making of a hands-on Halloween workshop

Years ago, I saw an article online about a pumpkin decorating contest by NASA. The results were spectacular: there were moving parts, whirling parts, computers programmed to display LED messages, depictions of sciences, and some really crazy themes! As Exploratek activity coordinator at the Canada Science and Technology Museum, I was immediately inspired to bring a similar activity to our visitors.
The trouble was, the participants in this contest were teams of aeronautical experts who spent days (if not weeks!) designing their concepts. The question became: how could we capture the core idea, and do our own slightly simplified version in Exploratek, the museum’s tinkering space for visitors?

Here’s what happens when NASA engineers have a pumpkin-carving contest. Image credit: NASA/JPL-Caltech (CC-BY-NC-ND 2.0)
Why pumpkins?
Before delving into the how, I had to answer the why. Why is pumpkin decorating an activity that the Canada Science and Technology Museum should host?
When the museum was redesigned, Exploratek makerspace was added to provide a hands-on learning place for people to explore and discover science in unexpected and fun ways. Could decorating a pumpkin in such as way be one of them?
The Exploratek makerspace is part of a broader movement that encourages learning-through-doing in an informal, social, motivating, and fun environment. Using electronics, robotics, 3D printing, woodworking, and traditional arts and crafts, the maker culture champions the four Cs: critical thinking, collaboration, communication, and creativity.
When considering the pumpkin workshop, I felt confident that young participants would take on the challenge. My hope is that they’ll feel inspired to explore their own ideas, experiment, tinker, and maybe pick up some hands-on skills with tools and electronics. For adults, my hope is that they’ll see pumpkin engineering as more than a craft, and that they’ll understand the value in the whole tinkering process.
How we create an Exploratek activity
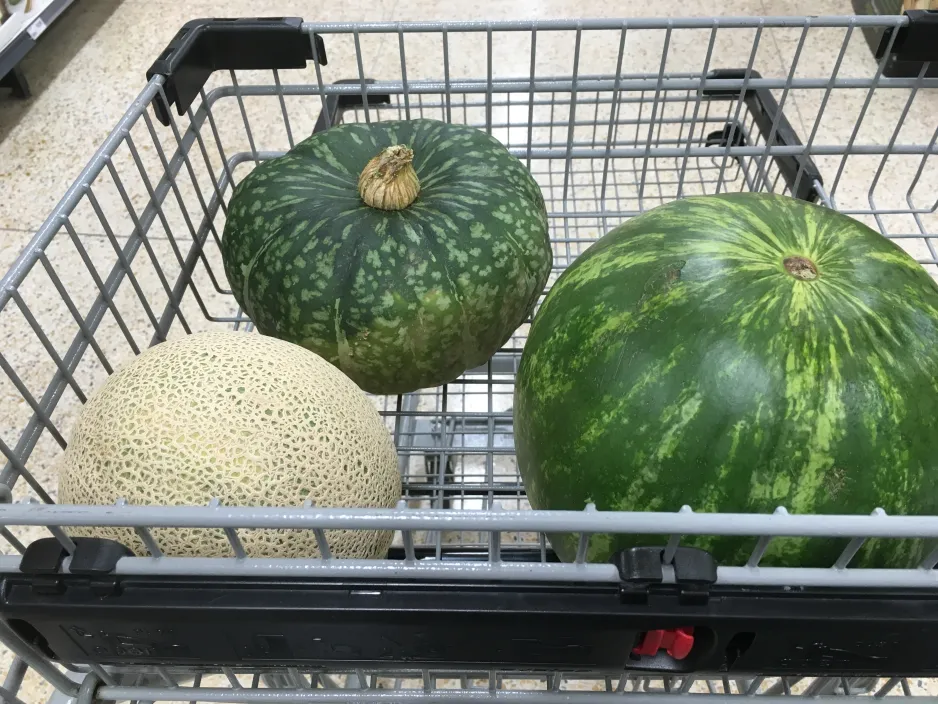
When there’s no pumpkins available, you get creative with your vegetable carving.
With a solid rationale behind the activity, I felt ready to attack the “how.” This is done through the following steps:
Step 1: Proof of concept
The first step in creating any new museum activity is to establish proof of concept. In other words: is this idea even feasible?!? We set out to create some rough prototypes. At the museum, we have to plan several months in advance and unfortunately, it’s really hard to find pumpkins in August! So instead, we went to the grocery and bought some gourds and melons (they look kind of like pumpkins, right?).
First we tried carving a watermelon. We then added lights and a motorized disco ball inside. The results were…underwhelming.

A cardboard helmet and cardboard glasses make this melon look awfully scary!
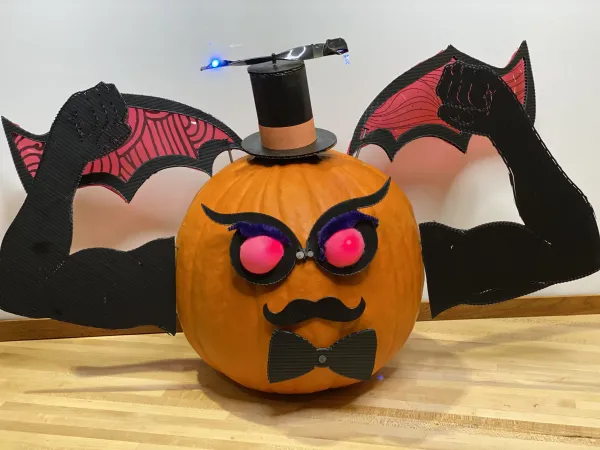
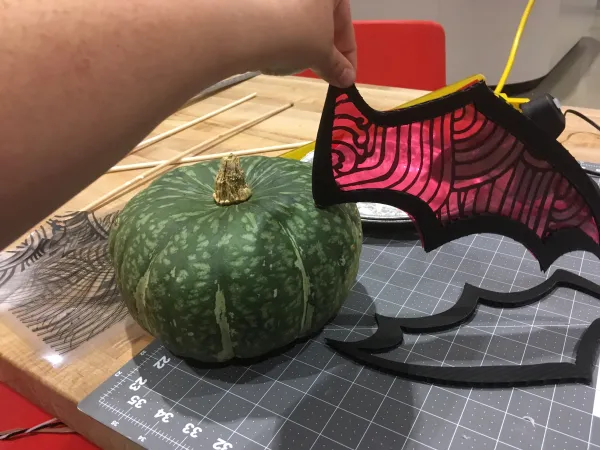
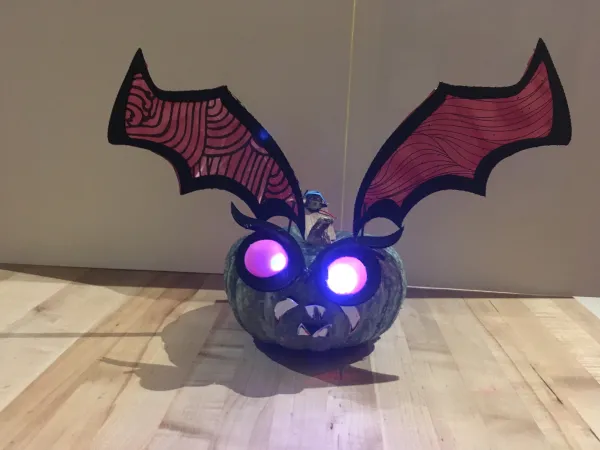
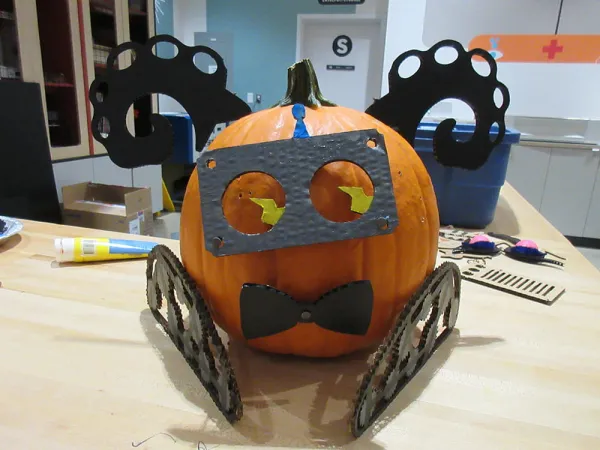
Next, we tried more of a “Mr. Potato Head” decorating technique. Instead of carving the “pumpkin,” we dressed it up with features and accessories that we jabbed in. We were so happy with the result that we decided on this method for the workshop.
Step 2: Brainstorming!
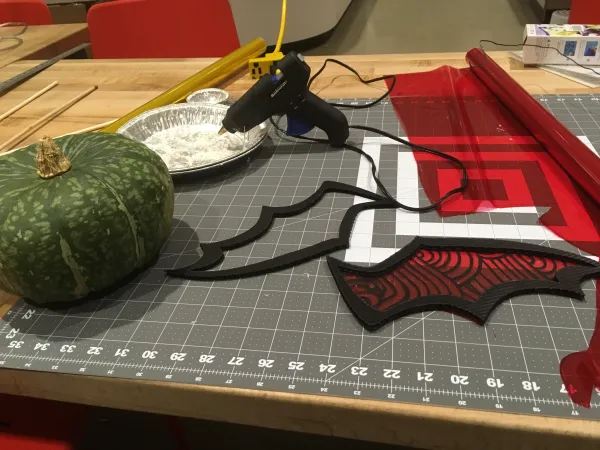
Once the proof of concept was completed, we brainstormed about the pieces and accessories that we would like to fix in the pumpkins. We put those ideas in categories, pared it down quite a bit, and then started creating files to cut with a laser cutter.
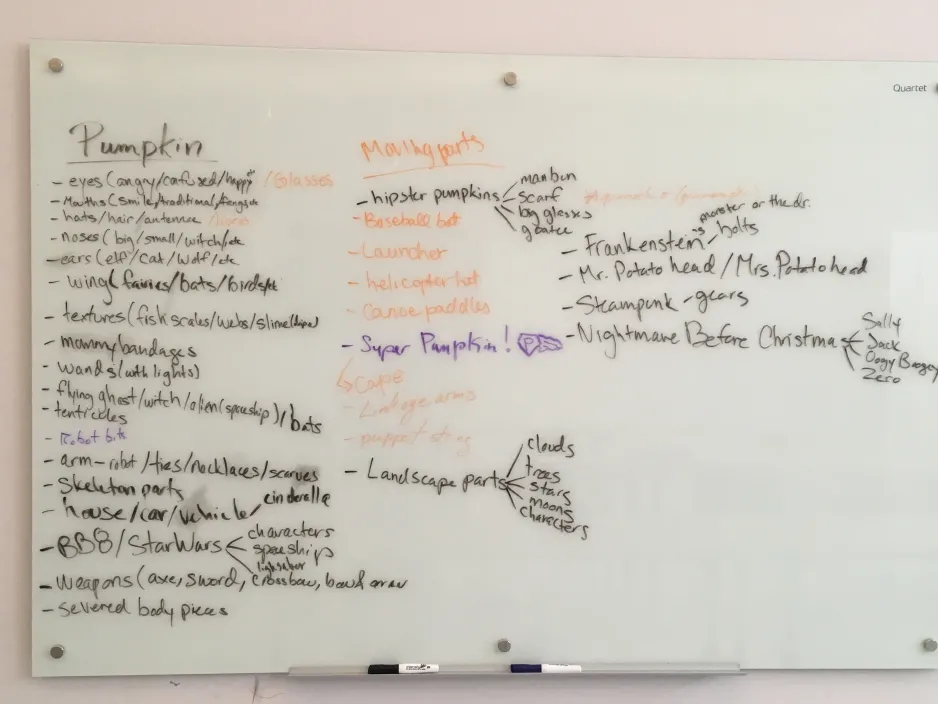
We come up with some of our best ideas during whiteboard sessions. Go big or gourd home!
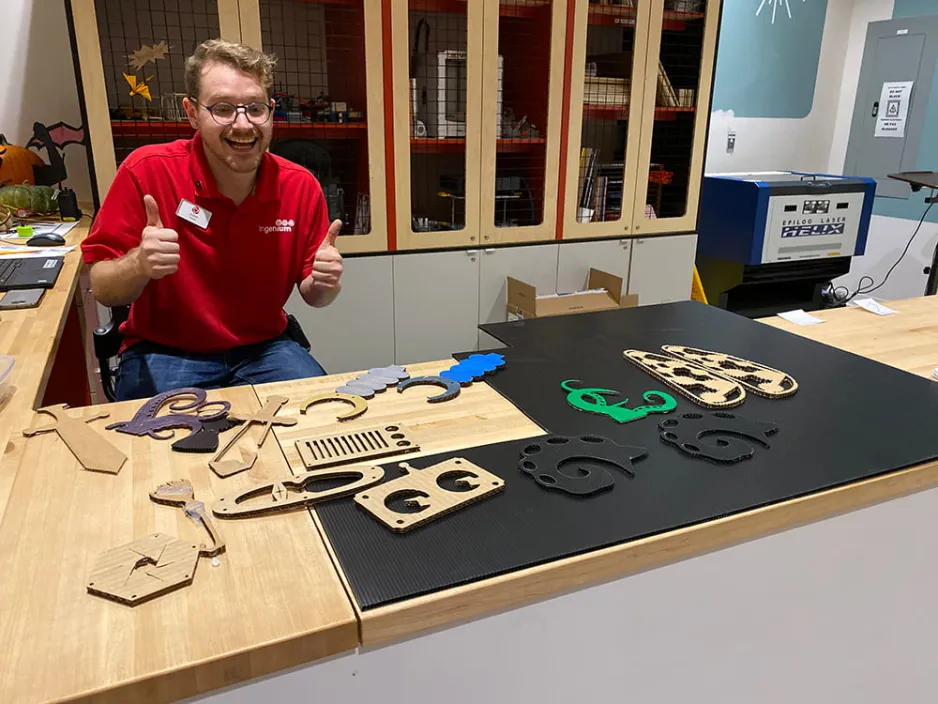
We used laser cutters to cut out the perfect shape.
Step 3: Trial and error!
Next, we kept on testing assembly methods that would allow for a maximum of creativity. We evaluated which tools we needed (glue guns, hammers, screwdrivers), and carefully assessed the risks and hazards related to them. We created a variety of prototypes that used motors and LED’s. We documented and photographed, took videos, and had so many laughs along the way!
Prototyping is an ongoing process. Everyone in the team brings their own touch and will think of different things which will make a very unique pumpkin. I don’t think we will be done until the start of the first workshop, and even then we won’t stop tinkering!
Step 4: Getting everyone involved
As you can see, there’s a lot going on behind the scenes to bring this workshop from concept to reality. In addition to developing the actual activity, there is a whole marketing process which includes advertising on the web, communicating to our members, creating registration forms, and editing text. It involves an array of Ingenium staff members, each of them instrumental. I would like to thank them all for making this workshop possible.
On October 27, 2019…are you up for the challenge?
I just know this workshop is going to be amazing. Not to say it will be easy; I’m fully expecting participants to try, fail, and try again! That’s part of learning. We really hope that you will enjoy attending this workshop as much as we did creating it, and we look forward to seeing what you come up with.
For full details and to register for the workshop, visit The Tinker Series: Pumpkin Engineering.


