Music meets technology: Raising the bar
In my earlier article, Music meets technology: Building a laser harp, I wrote about my experience building a Musical Instrument Digital Interface (MIDI) harp for the Symphony Hack Lab at the National Arts Centre in Ottawa.
After the success of that project, I was asked if I could make a better, more portable version that could be used for demonstrations at the Canada Science and Technology Museum. As a MIDI instrument, the first harp required a laptop, speakers, and other things that added to the complexity of operation.
I was intrigued by this secondary challenge. Plus, because it was for the museum, I would have more time research and buy parts.
Finding the right materials
In setting out to build a second harp, the first thing I did was source some proper lasers. For my first project, you may remember I took the lasers I needed from old projector remote controls. The issue with that approach was the lasers were all different shapes and sizes, and not very presentable. I figured that there must be a better way. So I found what I needed on Amazon; the lasers were inexpensive and readily available (if only I had known the first time!).
With the easy part done, I moved on to finding a good way to make self-contained sound projects. I stumbled on a project for a touch-sensitive guitar. It used a microcontroller called a teensy, which did all the work — reading the inputs, synthesizing the sounds — and even had a small, on-board amplifier to make it louder.

After some initial testing, I realized that I still had to add another small power amplifier for the speakers, as the harp was too quiet in the large halls of the museum. My full list of materials included: a microcontroller, an amplifier, a pair of speakers, and nine lasers (for a full octave), all running off of a standard, USB power bank.
Refreshing the harp’s design
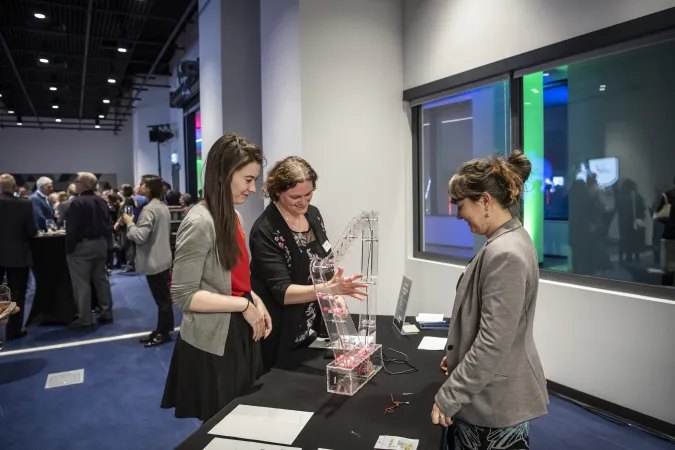
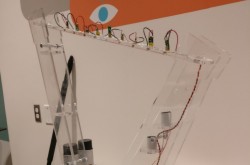
After I had chosen all the parts, it was time to refresh the design for the harp itself. I decided to go with clear acrylic for the second time; it was a popular choice and allows for the internal working to be seen and discussed. However, I did want to make some improvements. I enlarged the base, to make room for the electronics and speakers. I gave the top bar a more artistic curve, then sandwiched small platforms for each laser so they could each be perpendicular to the base.
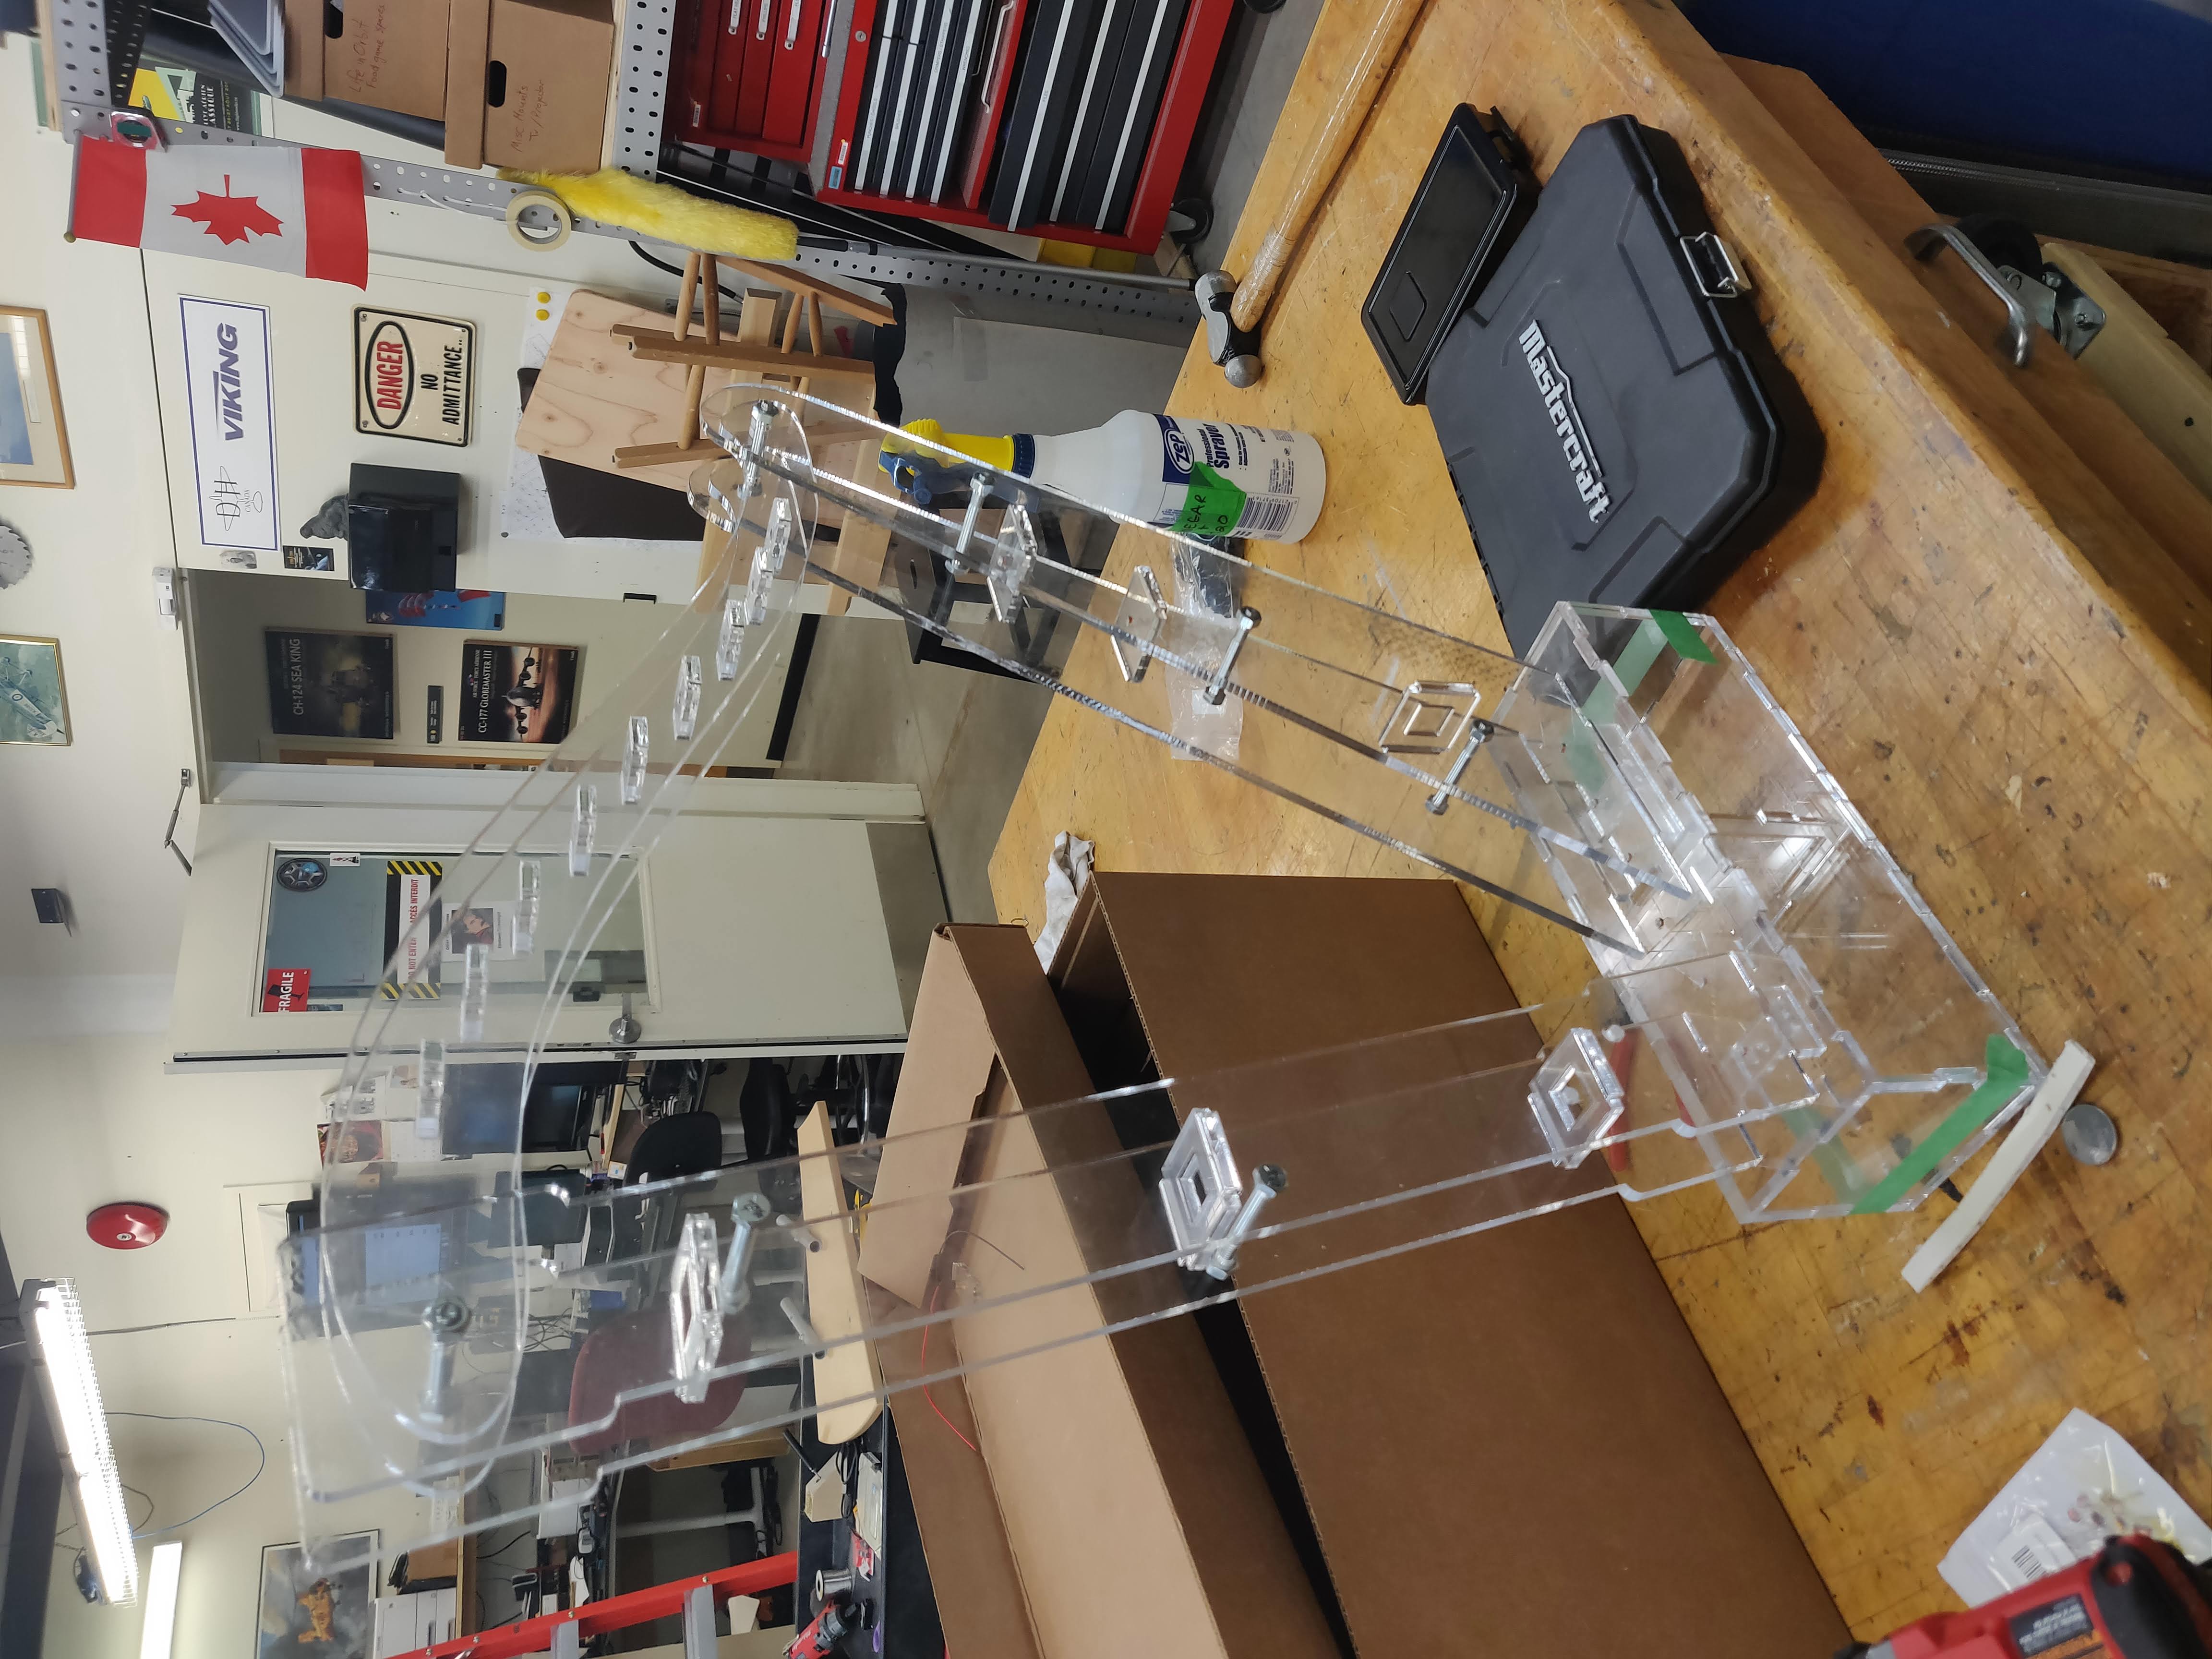
With that done, it was finally time to assemble the refreshed harp. Overall, I was pretty satisfied with the results, but there are some things I would definitely change if I revisit this project in the future. For example, the shortest string is so short you can barely touch it. In addition, I had planned on mounting the volume control to the base, but the acrylic was too think. At the end of the day, these were minor issues.
The harp has been incorporated into visitor programming at the museum, which means our guests gets to see it and play with it — under the watchful eye of a museum guide. I’m glad I had the chance to unleash my creativity, and that it resulted in a fun piece of technology for the public to enjoy.
Enjoying the Ingenium Channel? Help us improve your experience with a short survey!


