Water microscope
Share :
What you need
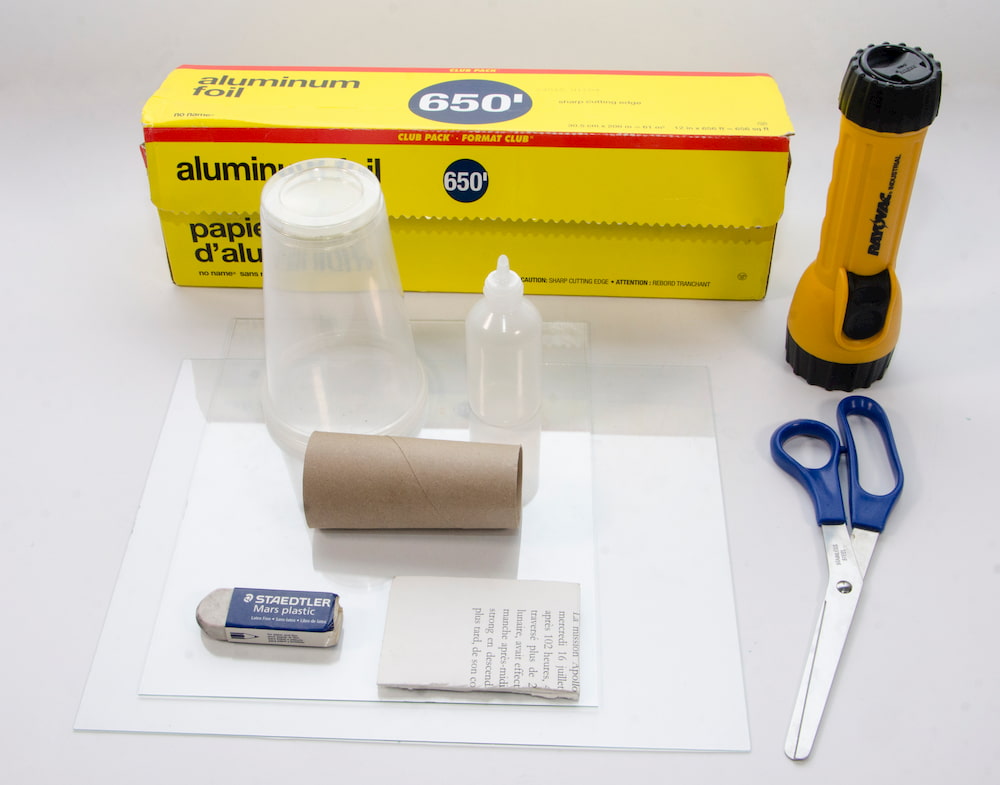
- Two pieces of glass (glass from a 9.5″ x 11″ picture frame works great!!)
- Scissors
- Tap water
- Flashlight
- Two cups
- Toilet paper roll
- Cardboard
- Aluminum foil
- Eraser
- Specimens to look at (example: skin cells, dust, insects, plant tissues)
- Optional: syringe or eyedropper
- Optional: tweezers, small laser pointer, sticky tack, white paper, smartphone
Safety first!
Adult supervision may be needed when using scissors. The ‘go further’ activity requires a laser pointer; make sure to never point it in anybody’s eyes!
Make it
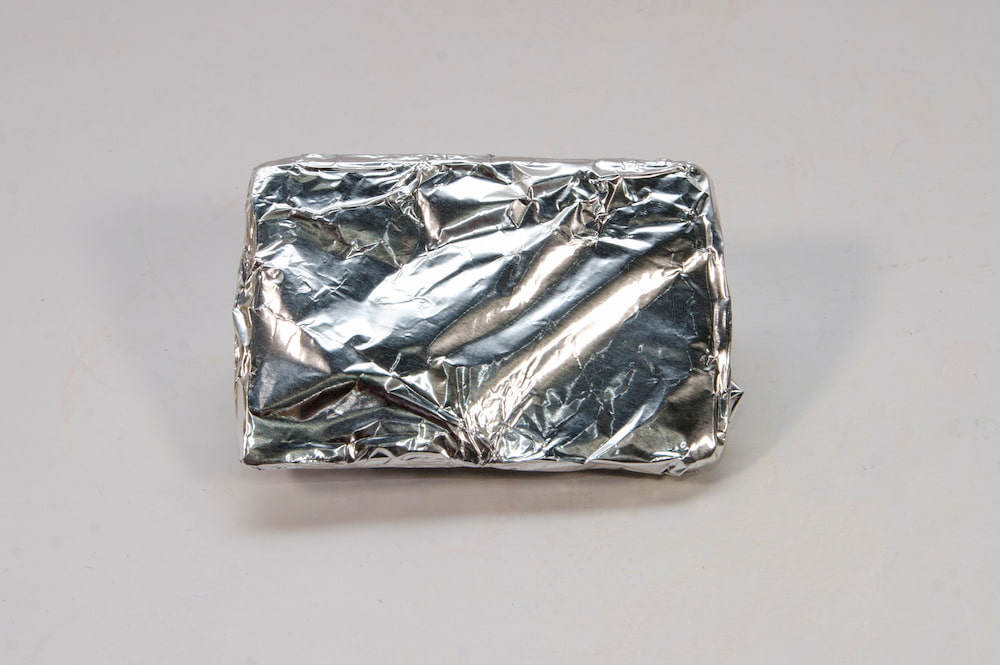
- Cut out a 10 cm x 10 cm piece of cardboard. Cover in in unwrinkled aluminum foil, with the shiny side facing out. Prop it up on your eraser so that it is slightly angled, reflective side up.
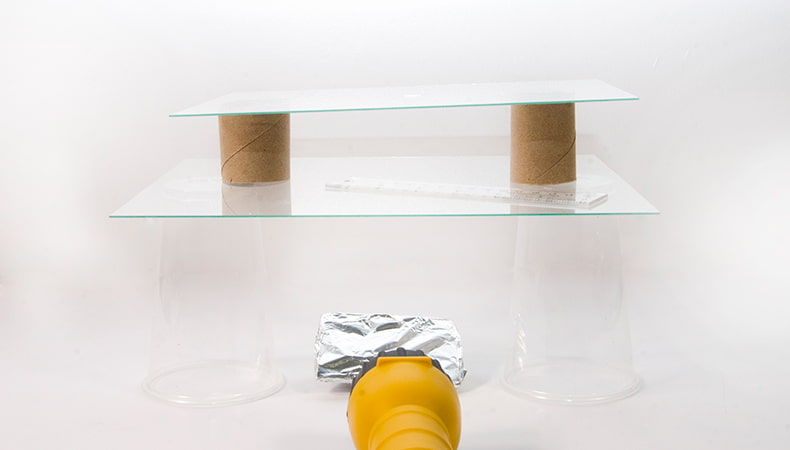
- Place the glass so that it is resting on top of your two upside-down cups. Place your newly-made “mirror” underneath in the centre.
- Place your specimen on the glass in the centre.
- Cut your toilet paper roll in half, and place each half on the glass, directly over top of the cups. Place the next sheet of glass on top.
- Put a large droplet of water in the centre, on the top piece of glass.
- Place the flashlight about 30 cm away from your microscope on the table, pointing toward the mirror. Turn it on and adjust the distance, and the positioning of the mirror so that the reflected light shines up to the specimen.
Test it
Look through the water droplet down at your specimen. It should be magnified significantly. Look for any interesting features, and record your observations by drawing what you see.
Explain it
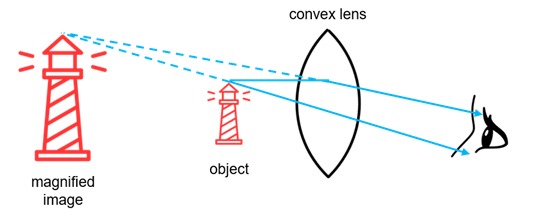
The water droplet acts as a convex lens, meaning that it bends outward, allowing light to pass through it. It works just like a magnifying glass! When you look through a convex lens, the light from the original image is bent inwards towards your eye. However, this tricks our brain, which processes light as if it’s moving in a straight line. So, a virtual image is created as your eye “traces back” a straight line — making the object look bigger than it actually is!
Observe it
Water droplet and smartphone microscopes are beginning to be developed as a cost-efficient alternative to highly expensive, lab-grade microscopes. This way, doctors and scientists in developing societies can diagnose and treat more people with illnesses, as they are able to see what is happening at the microscopic level.
Go further
You can make a microscope for your smartphone with just a few materials. Use a pencil, or a pair of tweezer to get the lens out of a laser pointer, which should look like a small glass bead. Then, place the lens convex (bended outward) side up on your phone’s camera. Use sticky tack all around it to secure it, but make sure not to smudge the lens with tack residue on your fingers! It’s a good idea to place a piece of white paper on top of a flashlight lens, and then the specimen on top of that so that it is backlit.


